-

Self Hosted WP Themes
Explore thousands of designs from WordPress library.
-

Self Hosted HTML5 Templates
Predefined HTML Templates to Build Stunning Travel Websites
-

Self Hosted B2B Designs
Predefined B2B Designs for Travel Websites
-

Download Plugin
adivaha Travel API Documentation
-

Explore Features
Let’s Explore What We Offer
-

Our Clients
Our-Clients: A Showcase of Expertise and Success
-

Contact Us
Have something unique in mind? Drop a message.
-

Pricing & Plans
Video Guides and Tutorials
-

Documentations
Plugin and White Label Portal Documentations
-

My Dashboard
My Travel Dashboard
How to Activate an Account in a B2B Travel Portal Quickly & Easily
Home » Documentations » B2B Travel Portal » Agency account activation
Get your account in a B2B Travel Portal activated quickly and easily with these simple steps. Discover the power of agency automation now!
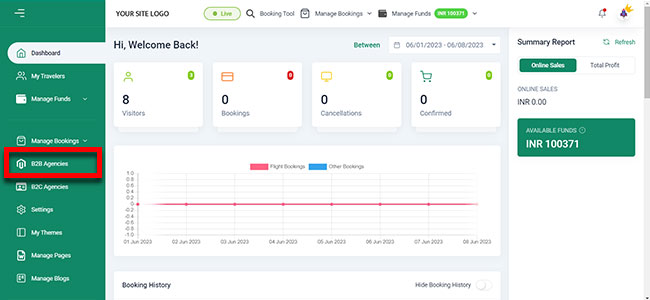
1. Login to your back office and navigate to B2B Agencies
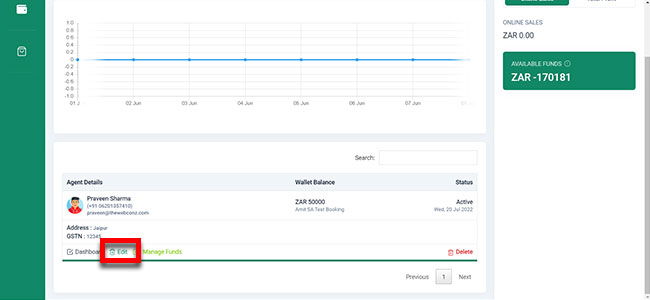
2. Click Edit button of the agency you would like to approve
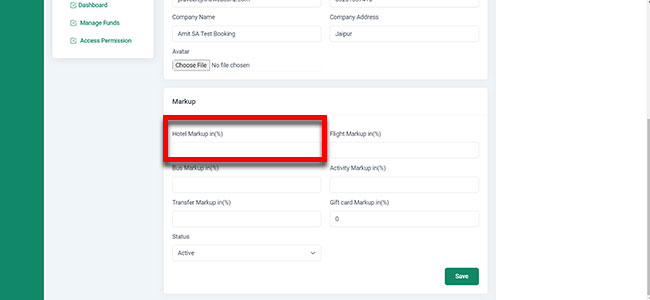
3. Setup the markup on top of the agency price.
4. Activate the agency.
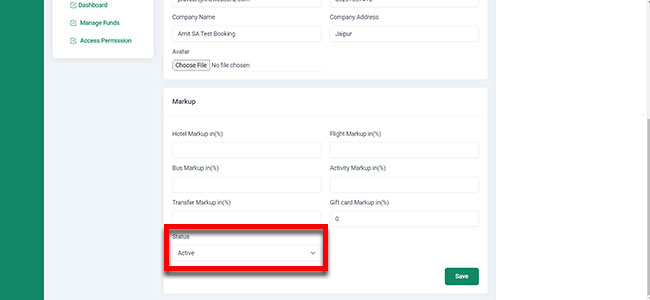
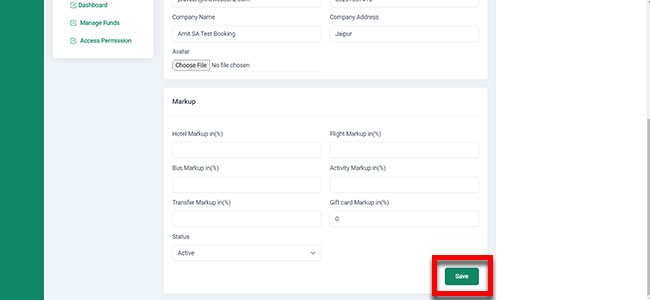
5. Click Save.
