Last Update | |
Created | 24 March 15 |
Products | WP Plugin,White Labels,Mobile Apps,B2B Software,Trip Composer,Corporate/Self Booking Tool |
Documentation | Well Documented |
FAQs | Travel API Integration,Hotels API Integration,Flights API Integration,Payment Gateway Integration |
- Home
- GDS/OTA Integrations
- Travel Booking Plugin
- White Label Travel Portal
- B2B Travel Booking Software
- UPI Payment Gateway
- Automate Offline Bookings
- Corporate Travel Booking Tool
- Itinerary Builder
- Utility Bill Payment
- Gift Cards and Loyality Program
- Travel Agency APP Builder
- Travel APIs
- Partner with us
- Video Guides
- Portfolio
- Testimonials
- Documentations
- Setup & Installation
- adivaha® Travel Platform
- How It Works
- WordPress Plugin
- White Label Portal
- Cross-Platform Widgets/SDK
- APP Store (3rd Party API connections)
- Manage Wallet
- Load Funds
- Transaction History
- Back Office
- My Themes
- Global Settings
- Change Password
- Go Live
- Upload your logo
- My Bookings / Cancel Bookings
- Manage Profile
- Setting a Markup
- Customize Searchbox
- Custom Styling (CSS)
- Payment Gateway
- SMTP Settings
- Settings
- Manage Pages
- B2B
- Agency Registration
- Agency Account Activation
- Manage Agency Wallet
- Addons
- Whatsapp Notifications
- Chatbot Settings
- Multicurrency
- Travel Insurance
- Manage Cashback
- Manage Discount Coupons
- Meals & Baggages (SSR)
- Refund Protect
- Hold Bookings
A Guide to Managing Agency Wallet in a Professional B2B Travel Portal
Home » Documentations » B2B Travel Portal » Manage Agency Wallet
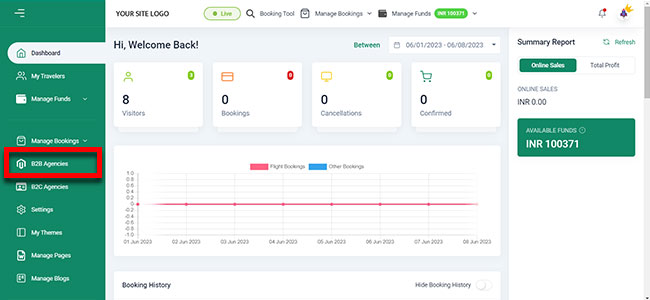
1. Login to your back office and navigate to My Agents

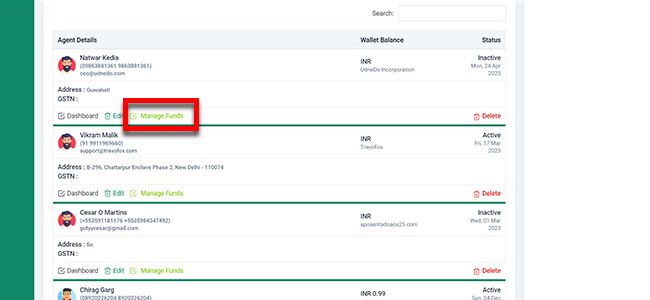
2. Click Manage Wallet button of the agency you would like to load funds

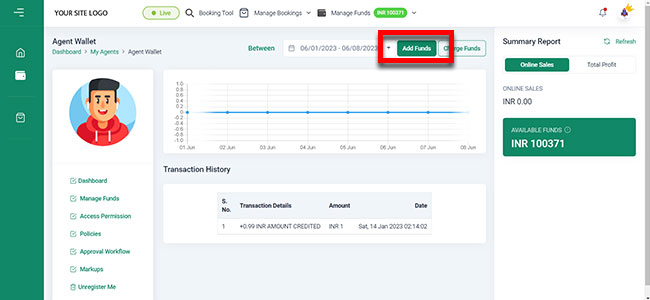
3. Enter the amount and click Fund Wallet

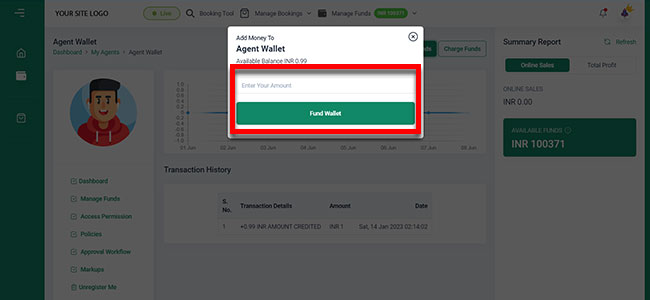
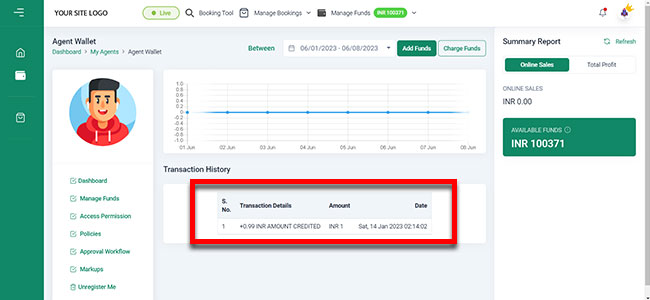
4. You can view the wallet transaction history of the agency
