Last Update | |
Created | 24 March 15 |
Products | WP Plugin,White Labels,Mobile Apps,B2B Software,Trip Composer,Corporate/Self Booking Tool |
Documentation | Well Documented |
FAQs | Travel API Integration,Hotels API Integration,Flights API Integration,Payment Gateway Integration |
- Home
- GDS/OTA Integrations
- Travel Booking Plugin
- White Label Travel Portal
- B2B Travel Booking Software
- UPI Payment Gateway
- Automate Offline Bookings
- Corporate Travel Booking Tool
- Itinerary Builder
- Utility Bill Payment
- Gift Cards and Loyality Program
- Travel Agency APP Builder
- Travel APIs
- Partner with us
- Video Guides
- Portfolio
- Testimonials
- Documentations
- Setup & Installation
- adivaha® Travel Platform
- How It Works
- WordPress Plugin
- White Label Portal
- Cross-Platform Widgets/SDK
- APP Store (3rd Party API connections)
- Manage Wallet
- Load Funds
- Transaction History
- Back Office
- My Themes
- Global Settings
- Change Password
- Go Live
- Upload your logo
- My Bookings / Cancel Bookings
- Manage Profile
- Setting a Markup
- Customize Searchbox
- Custom Styling (CSS)
- Payment Gateway
- SMTP Settings
- Settings
- Manage Pages
- B2B
- Agency Registration
- Agency Account Activation
- Manage Agency Wallet
- Addons
- Whatsapp Notifications
- Chatbot Settings
- Multicurrency
- Travel Insurance
- Manage Cashback
- Manage Discount Coupons
- Meals & Baggages (SSR)
- Refund Protect
- Hold Bookings
How to Use B2C White Label Solutions to Successfully Upload Logos
Home » Documentations » B2C White Label Travel Portal » Upload your logo
The size and location of the logo in the header is determined by the store theme. Your logo can be saved as either a GIF, PNG, or JPG (JPEG) file type and uploaded from the back office.
- In addition to the logo in the header, your logo also appears on email templates and on PDF invoices and other sales documents.
If you do not know the size of the logo or other images used in your portal, open the page in a browser, right-click the image, and inspect the element.
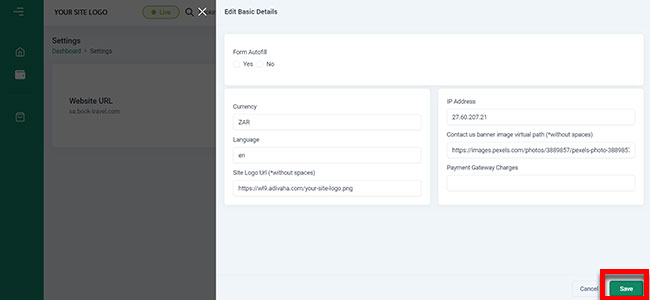
1. Login to your back office and navigate to Settings

2. Click the pen icon in the right corner

3. Upload your own logo from your desktop
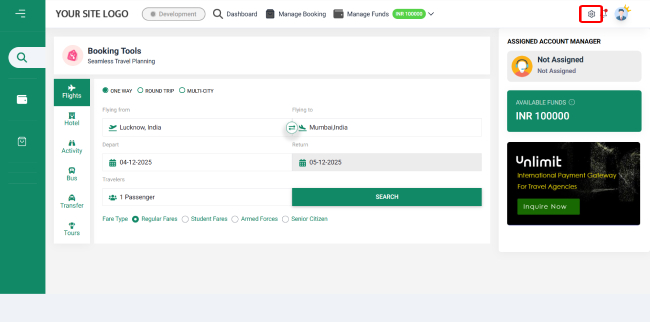
4. Save the settings and your new logo should now reflect in your website and dashboard.
