Setting up a markup - B2C White Label Travel Portal
Home » Documentations » B2C White Label Travel Portal » Setting up a markup
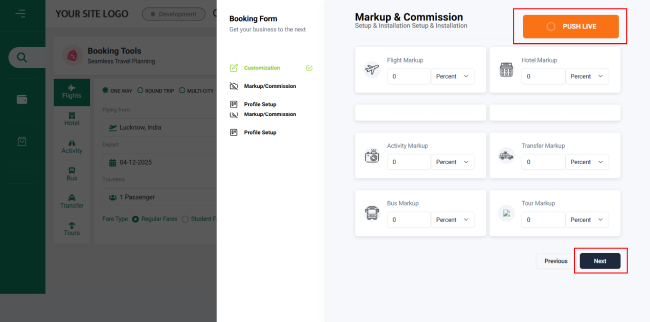
Easy markup management - Setup a markup on each module bifurcatedly in percentage or flat
- Add a seperate convenience fee apart from markup
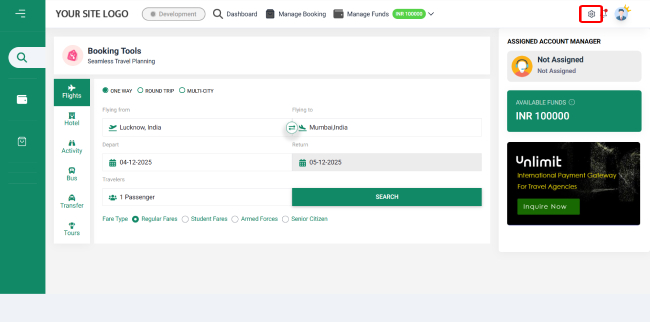
1. Login to your back office and navigate to ⚙️
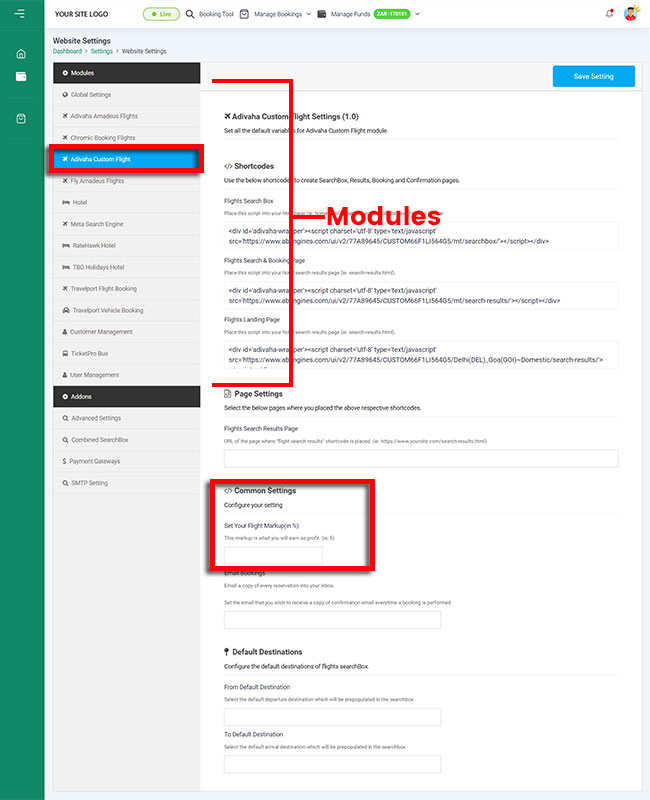
2. Now setup a Markup & Commission.
3. Click Push live or Next.