How To Set Up Agency Registration in a B2B Travel Portal
Home » Documentations » B2B Travel Portal » Agency registration
Offer your personalized platform to your agencies to book and issue tickets under their own branding.
- Onboard unlimited agencies.
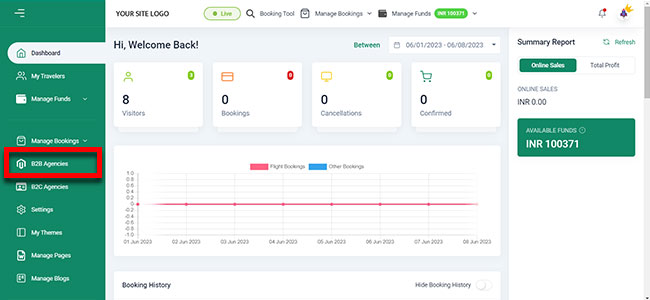
1. Login to your back office and navigate to B2B Agencies
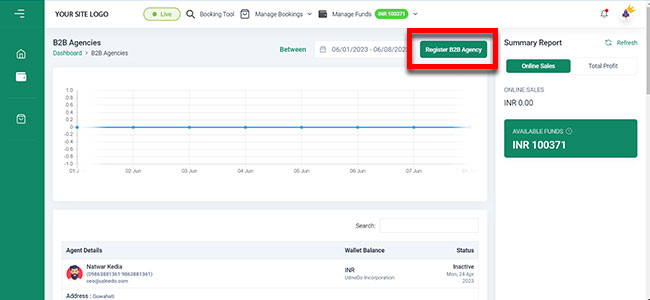
2. Please click the button to register a new agency.
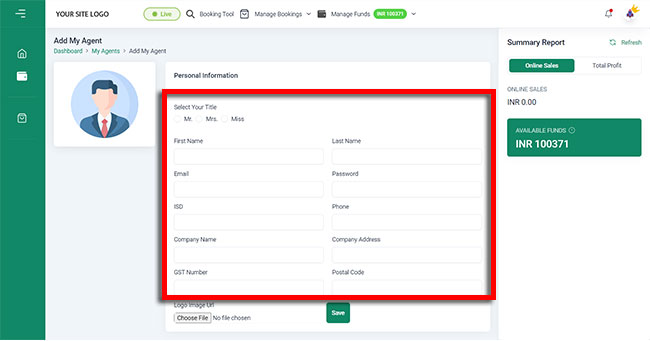
3. Then Enter the details of the agency.
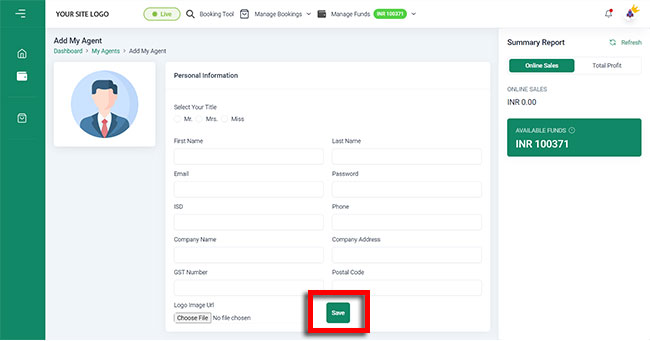
4. Click Save.
The agency will receive an email with the welcome note. You can even share your registration link to your agencies and they can register by themselves. Every new account registered then has to be approved by the super admin.