Setup & Install adivaha® White Label Travel Portal
Home » Documentations » B2C White Label Travel Portal » Setup & Installation
.png)
Step-by-Step Guide For You to Create Your Online Travel Booking Website
For travel agencies lacking technical support, the White Label Travel portal proves ideal. It offers an economical solution to swiftly establish an online presence for your travel business. Despite its cost-effectiveness, customization options are somewhat limited.
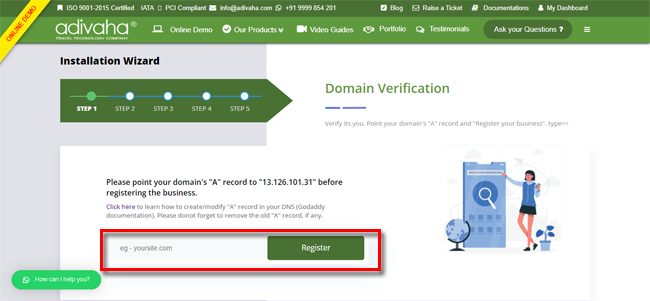
1. Point your domain's "A" record to "82.180.145.140" and visit the setup link. Click here to learn how to create/modify "A" record in your DNS (Godaddy documentation). Please donot forget to remove the old "A" record, if any.
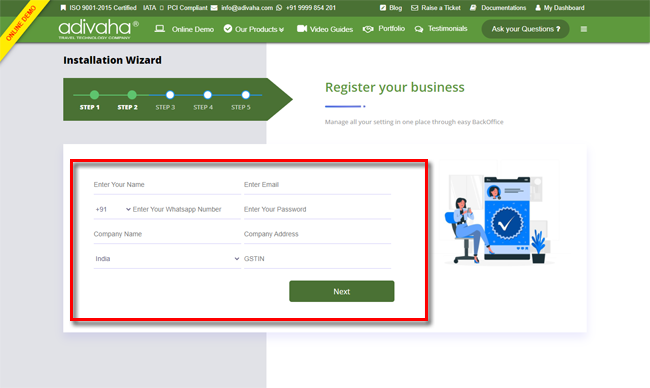
2. If pointed correctly, you will now be taken to the Business Registration page. You can fillin your company information and hit "Next"
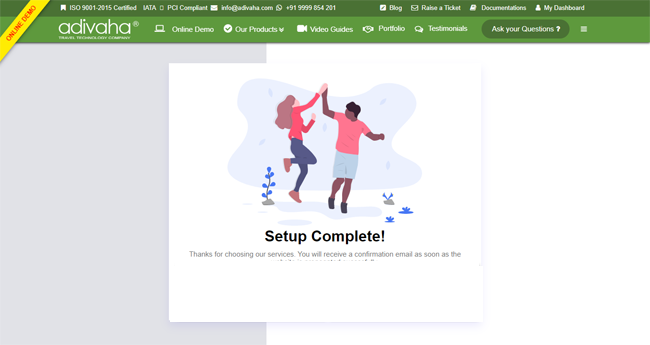
3. You will now land to the confirmation page with the links to your white label travel website and the backoffice. Generally, it takes few minutes to get the site published, but at times it may take 24-48 hrs. You should receive an email with the login info. Wasn't that easy?