-

HTML Template Designs
-

WordPress Travel Plugin
-

Crossplatform Widgets
-

White Label Travel Portal
-

B2B Travel Software
-

Travel Agency APP Builder
-

Itinerary BuilderNEW
-

Corporate Booking Tool
-

Travel XML APIs
-

Travel Marketplace
-
GDS/OTA Solutions
-

Travel Chatbot
-

Testimonials
-

Gift Cards and Loyality
-

Documentations
-

Blogs
-

FAQ-Frequently Asked Questions
Setup & Installation - How to Build a Travel Website from Start to Finish
Home » Documentations » B2B Travel Portal » Setup & Installation
Step-by-Step Guide For You to Create Your Online Travel Booking Website
- Settle your commercials and obtain your setup link
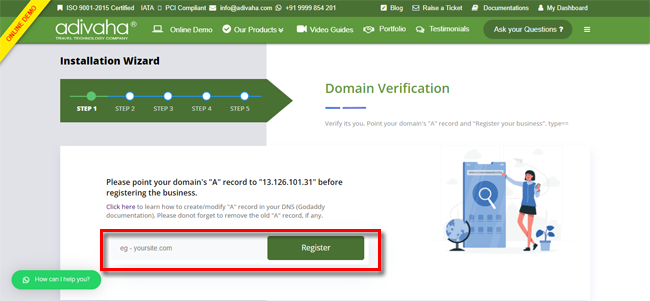
1. Point your domain's "A" record to "13.126.101.31" and visit the setup link. Click here to learn how to create/modify "A" record in your DNS (Godaddy documentation). Please donot forget to remove the old "A" record, if any.
2. If pointed correctly, you will now be taken to the Business Registration page. You can fillin your company information and hit "Next"

3. You will now land to the confirmation page with the links to your B2B Travel Portal and the backoffice. Generally, it takes few minutes to get the site published, but at times it may take 24-48 hrs. You should receive an email with the login info.